Growing microgreens is a rather resource-intensive process, so we are all looking for ways to make it less expensive, or more sustainable. In this article, I will explore whether it’s possible or worthwhile to reuse soil when growing microgreens.
So can you reuse soil when growing microgreens? The short answer is no, not without processing it. It’s difficult to detangle the microgreen roots from the soil, there is a chance of pathogenic contamination, and the soil may no longer have enough nutrients for a second crop. However, there are a couple of things you can do to recycle the soil.
Growing microgreens is a much shorter process than growing mature vegetables, or even baby salad greens. The lifecycle of most plants we eat can be measured in months, while the lifecycle of microgreens takes only weeks. Because you harvest microgreens in their very early stages, you will need to plant them again and again. Every week, or two, or three.
If you are only growing small amounts for your own consumption, it may not seem like you are using up a lot of soil. But if you are growing on a larger scale for commercial distribution, you will be going through a lot of soil. And since using garden soil is not recommended for growing microgreens, you will need to buy your potting mix, or buy the ingredients and make your own. Soil and seeds make up the largest share of the growing costs of microgreens. In addition, there is the issue of what are you going to do with the used potting soil. If you are growing in an apartment, you cannot just dump it in your yard. So the ability to reuse soil would make a lot of sense. However, there are several concerns that discourage most people from doing it. Let’s see the reasons why.
Removing the Roots from the Soil is Too Difficult
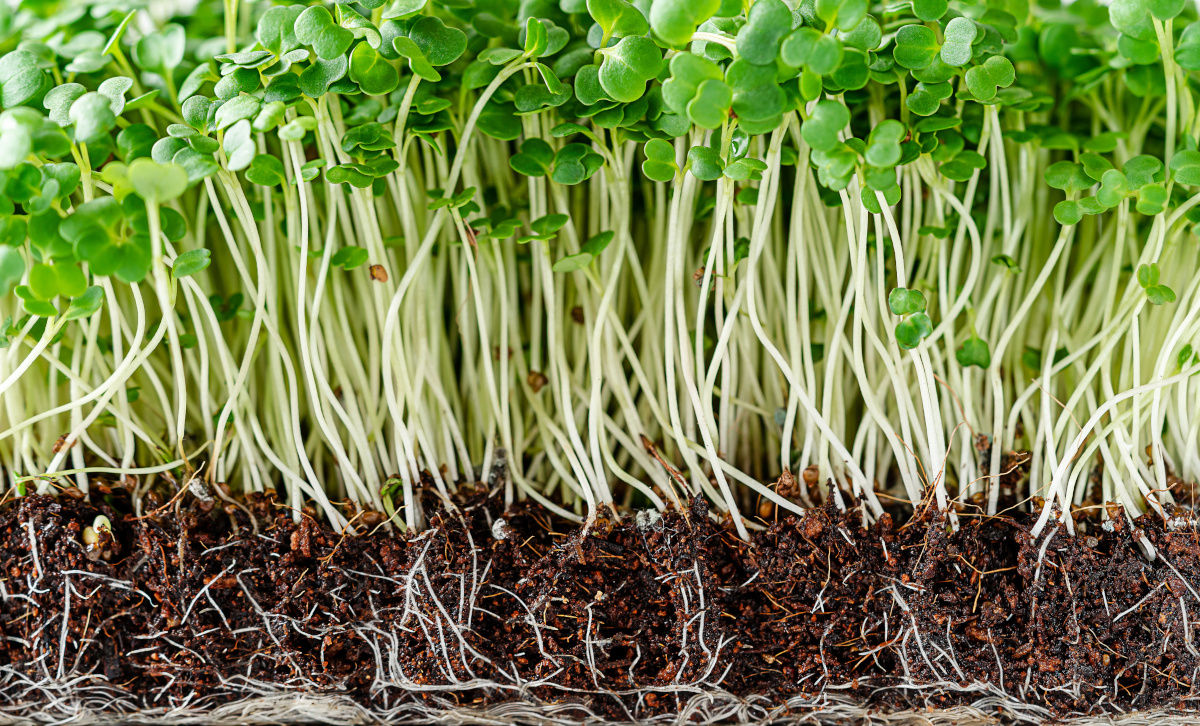
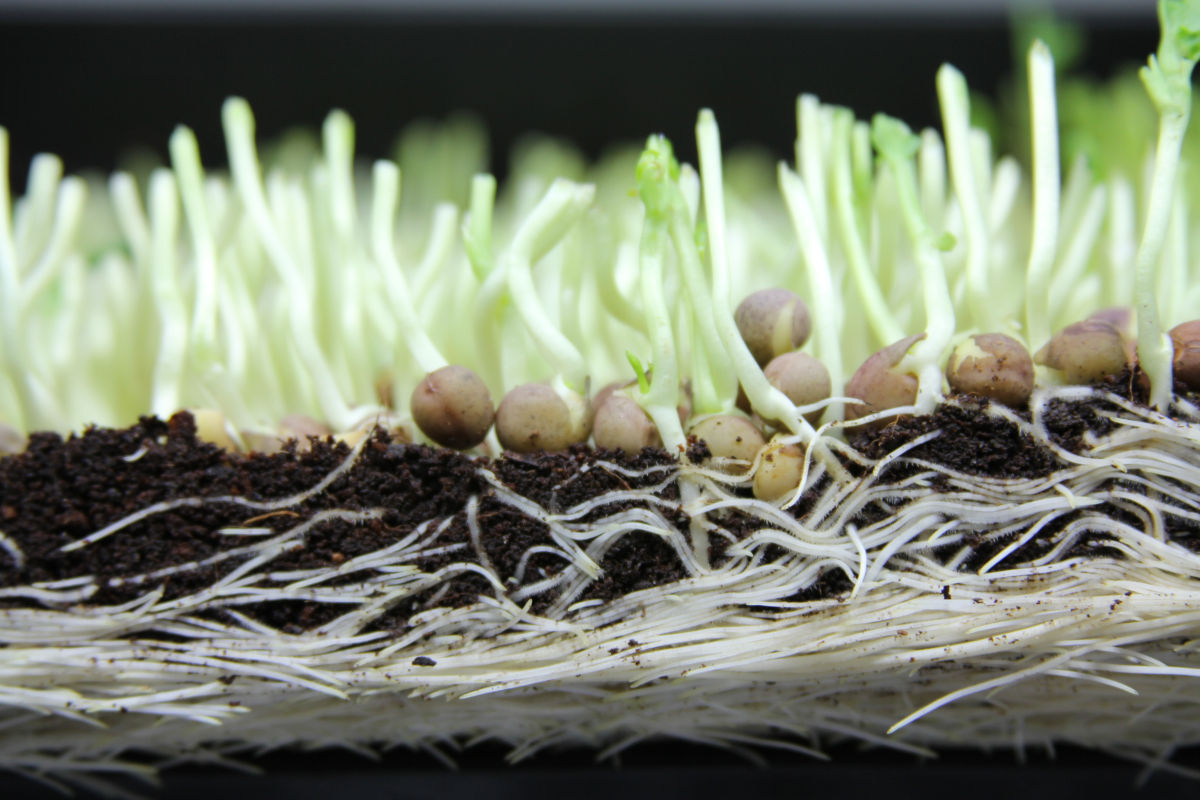
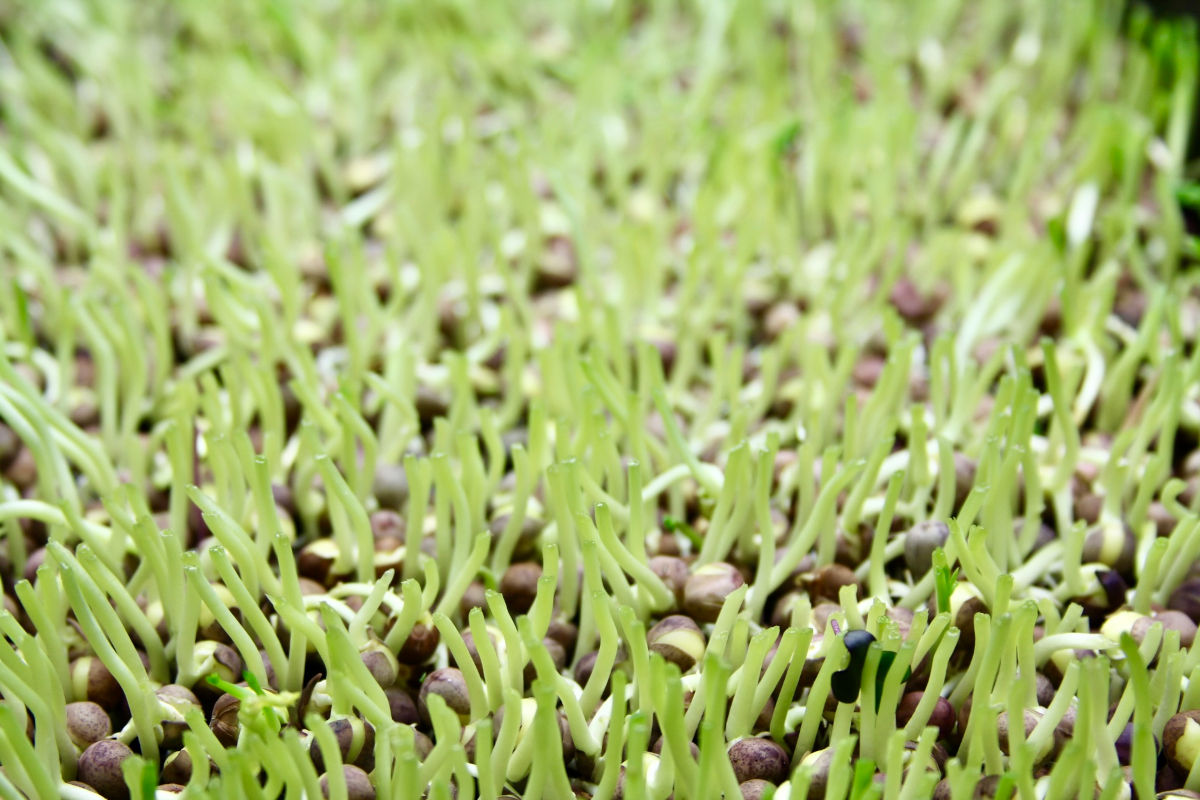
Microgreens are grown very densely. In a standard 10×20 tray, you will be sowing hundreds of seeds, and you will have hundreds of plants germinating and taking roots. While the plants above the soil level are growing upwards in neat bundles, underground, the roots of those plants will be spreading their roots in every direction, looking for access to more air, water and nutrients. It’s a race down there. So within a few weeks, the root systems of your microgreens will completely interweave the soil, some more than others. In the case of peas, after you are done harvesting them, you will have a carpet of soil with roots that you can lift out of the tray in one piece. Depending on how much soil you have used, the roots can double the mass you started out with.
So why can’t you plant on the top again? You could, but there is not much room for the new seeds. Can you separate the roots from the soil? You sure can try, but after one look, I decided not to even try it. It seems like a lot of work.
Reusing the Soil Can Spread Disease to Your Microgreens
Let’s assume you were successful in removing most of the root mass from your microgreen soil. Unfortunately, there is another issue. Microgreens get kind of crowded once they germinate, and it can get dark and wet around the roots and on the surface of the soil. These conditions are ideal for the proliferation of harmful microorganisms, such as mold. Even if your potting soil is sterile, mold spores from the air can land on the soil and your microgreens. That’s why it’s important to provide a balanced combination of humidity, temperature, and air flow.
The longer the microgreens are in the soil, the higher the chances of fungi growing. In most cases, this is not an issue. But if you keep the soil after your first harvest and try to grow in it again, you are starting with soil conditions that are not ideal. In addition, any remnants of the first batch of microgreens in the soil will start to decompose (rot), which again is not something you want. Rotting organic matter can attract microorganisms that may harm your delicate microgreens.
The Soil Becomes Depleted in Nutrients
Because microgreens are grown so densely, hundreds of plants per square foot, they use up the nutrients in the soil. That’s why seedlings are replanted into larger and larger pots of soil as they grow, and the plants are also fertilized regularly. So if you try to reuse the already depleted batch of soil, even if you are able to plant in it and they don’t get any disease, your second batch of microgreens may not be as vigorous and will contain less nutrients.
So it seems that the dangers and complications of replanting in used microgreen soil are not worth the trouble. But there are ways you can reuse the soil, if you are patient and have some time.
How Can You Reuse Microgreen Soil?
We have established that you cannot reuse microgreen soil right away. But you can reuse it if you compost it or sterilize it.
Composting
Composting allows the organic material in the soil to break down. The broken down organic material will return the nutrients into the soil, so they will be available again when you plant in it. Composting microgreen roots doesn’t take long. If you break up the carpet of soil after the first use and you keep it in a warm place and add some water, it can turn to compost within a month. Both warmth and moisture are necessary. It also helps if you turn the soil over once in a while. If you have cooler conditions, the composting process will take longer.
You can accomplish this in a traditional compost pile in your backyard, or in a large container. You can use one of the many composting contraptions available on the market, but you can also use a simple bin or bucket. You can also add some compost or worm castings to speed up the process.
If you are planning to reuse the soil for growing microgreens, I wouldn’t recommend adding other kitchen scraps to the compost pile. I would compost it separately. Some of those vegetable parts take much longer to decompose. If you don’t want to reuse the soil for microgreen growing then you can add it to your already existing compost bin and use the compost in your garden.
This is a sustainable method that can provide significant cost savings on your potting soil. And once you have used the composted soil, it can go back to the compost bin again and be reused again and composted again and so on. To prevent the build-up of too much organic green material in your soil, you can add some peat or coconut coir, or some potting soil mix to “dilute” it.
Sterilizing Soil
If you don’t have space to compost your used microgreen soil, you have the option of sterilizing it. Basically, you cook the soil in the oven, microwave, or pressure cooker, until all the harmful microorganisms die. So your soil will be sterile and suitable for planting. I have not tried sterilizing the soil myself so I cannot truly recommend a process for it.
Sterilizing the soil will take care of the problem of potential contamination, but you still need to sort out the roots and larger seeds, like peas, before you sterilize the soil. This might work better with microgreens that don’t have such extensive root structures as peas and other legumes. After you sterilized the soil, you could add some worm castings to replace the nutrients. Something like 20% would be a good proportion of worm castings or compost.
Summary
Reusing your soil from microgreen growing is a great idea because it not only saves you money, it saves resources. Since it’s not recommended to reuse the soil without processing it for a variety of reasons, the best option is to compost it and use it again for microgreen growing or use the composted soil in your garden. You are not only saving a resource by not buying more, you will be nourishing your garden with great compost. If you have the space to install one or two composting bins, I would recommend you do it. I personally compost the microgreen soil, and then use it in my garden and raised beds. I have also given some to my neighbors for their raised beds.
Leave a Reply