Microgreens are growing increasingly popular for good reasons. They are healthy, delicious, attractive, and also easy to grow. If you would like to try your hands at growing them yourself at home, here is a step-by-step guide to help you succeed.
You will need to choose some seeds, select containers and growing medium, measure out the seeds, sow and cover the seeds, water the seeds and expose them to light at the appropriate time, harvest the microgreens and store them properly.
That’s it in a nutshell. Not let’s look at each of those steps in detail and some optional steps you might also include.
1. Choose and Buy Your Seeds
First, you need to decide what you are going to grow. There are at least a hundred varieties, so there are plenty of choices. To make it easier to choose, select varieties that you have tried and like, and/or ones that are easy to grown. Check out this article for a list of easy to grow microgreens. (include link).
When you buy seeds, make sure to buy ones that are specifically designated as microgreen or sprouting seeds. Also select seeds that are organic, or untreated, to avoid contamination from chemicals and pesticides. Check out this article on how to buy seeds.
2. Select Containers and Growing Medium
Next, you need to find some suitable containers to grow you microgreens. You have several options.
You can recycle any plastic container. These include tofu containers, clamshell containers that had fruits in them, or any shallow container. It’s best to choose ones that have holes in the bottom, or that are soft enough so you can punch a few holes for proper water drainage.
You can also buy seedling trays that are used by professional growers. These come in different sizes, the standard is 10 by 20 inches, but you can buy smaller 8 x 12 containers that will be more suitable for home growing. You need some that have holes and some that don’t so you can stack them. Most of these trays are made of thin plastic so you can punch or drill holes yourself.
For growing medium, you again have several options. Soil is easy to obtain and not too expensive. Select potting soil or seedling mix that has a fine texture and won’t clump together.
You can also choose growing mats, which are organic or synthetic materials that are used instead of soil. These are cleaner than soil, but are not as easy to obtain and cost more. But they are viable and used by many growers. I haven’t tried these yet. I have so far liked the ease of using and purchasing organic potting mix locally.
3. Measure the Seeds
In order to get the most use out of the growing material, you need to make sure you sow your seeds dense enough, but not too dense. Some people eyeball it, because they have learned it from experience.
I like to use a seed density calculator such as this one, to make sure I am not over or under-seeding. This tool allows you to enter the size of your container and will tell you how much seed you need. It has 24 common seeds and will list the amounts you need in grams as well as in tablespoons. The reason why you need this is because each seed is of different size and therefore you will need very different amounts. I have found this a pretty accurate tool. For example, for an 8 x 12 tray, you will need 8 tablespoons of peas but less than a tablespoon of arugula.
4. Soak the Seeds (Optional)
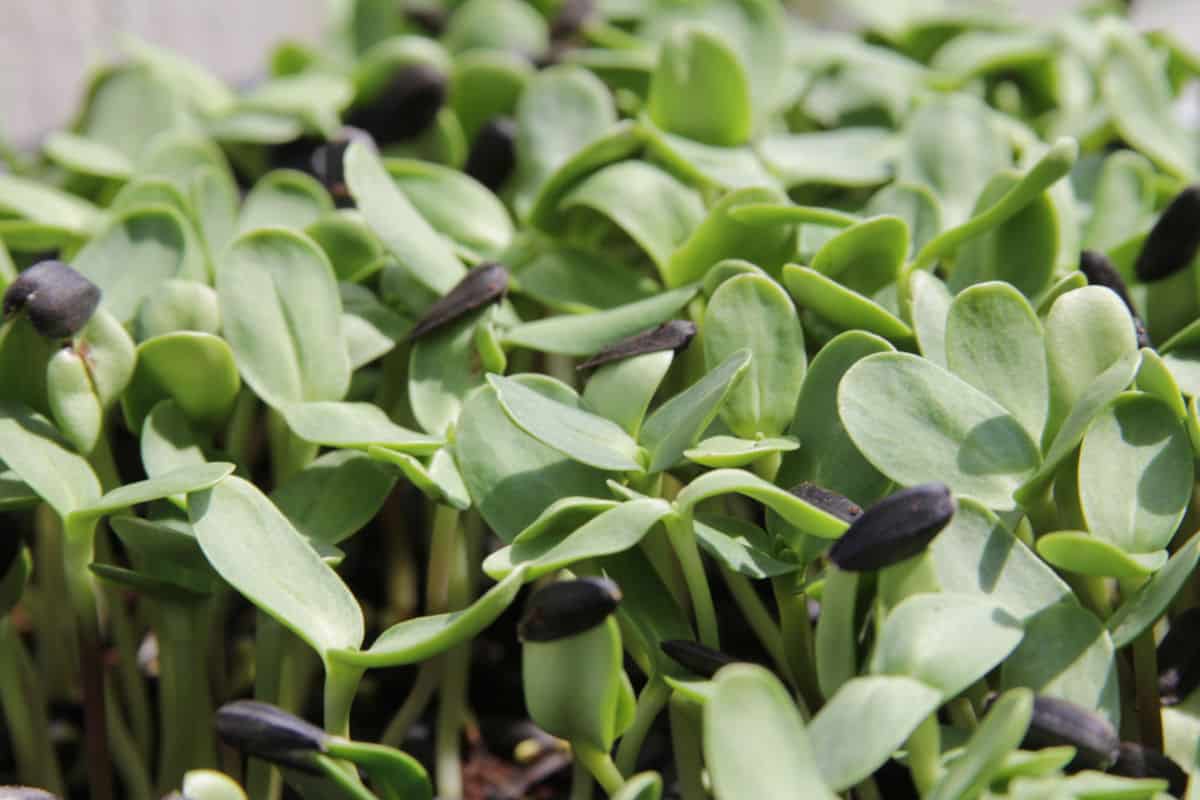
While most seeds can be sown directly, some benefit from soaking overnight or for 24 hours to increase germination rates. Peas and other legumes that have large seeds benefit the most, as well as sunflower seeds.
Some people recommend soaking beet and chard seeds. They are among the medium-sized seeds. These seeds are slow to germinate and grow, so soaking them could work. However, soaking them will make it harder to sow.
Small seeds such as radish, broccoli and herbs are better sown dry.
5. Sow the Seeds
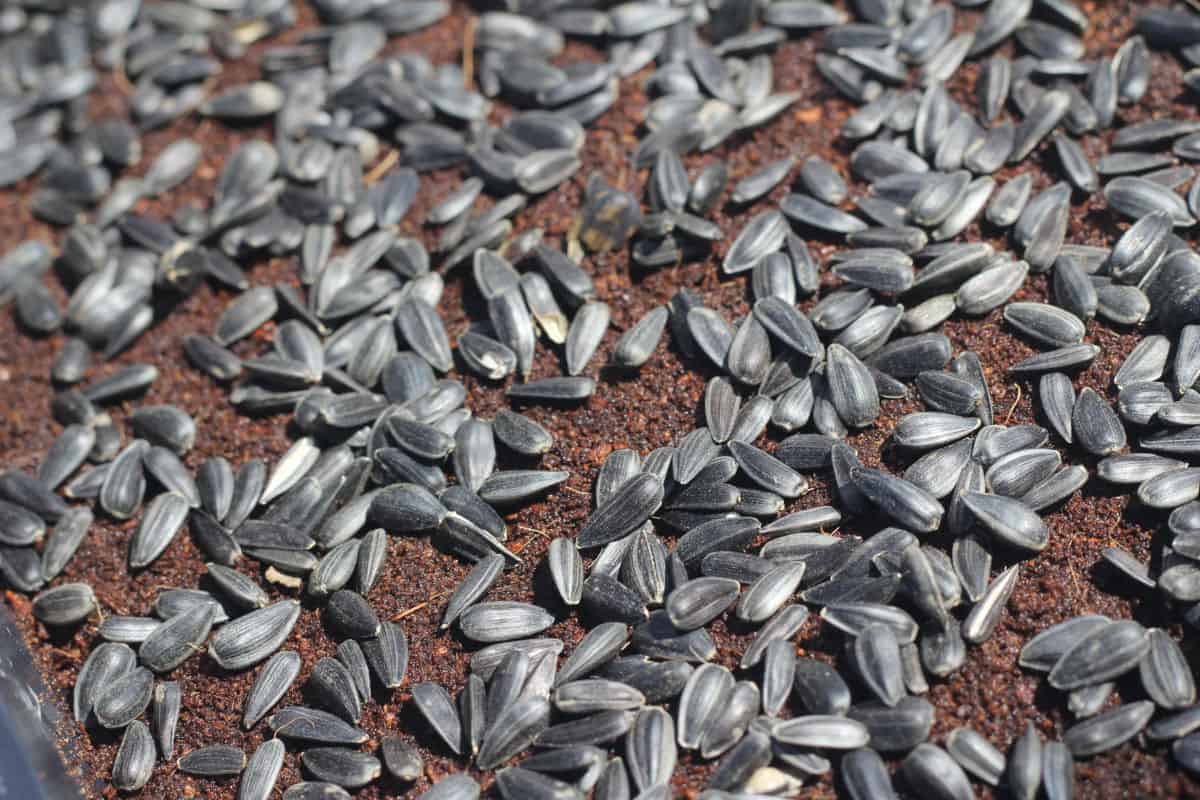
Now that you have your containers, growing medium and seeds, it’s time to start sowing.
- Place your containers with the holes inside containers without holes. If you have recycled containers, you can use the lids as bottom trays. If you are using professional growing trays, you will be doubling them up. This will allow proper drainage for the top container.
- First, fill up your trays with about 1 inch of potting soil. If there are any larger particles in your soil, pick them out, otherwise they will interfere with the growing of your small seeds. Smooth and pat the soil, so the surface is evenly flat. If it’s not, the seeds will roll into the indentations creating clusters.
- Lightly water the soil so it’s moist thoroughly but not soggy.
- Sprinkle your seeds over the soil. You can use a spoon, or a spice jar with holes. Try to sprinkle the seeds as evenly as you can, so there are no clumps or gaps. If there are gaps, you can use your hands to spread out the seeds more evenly.
- Using a spray bottle, spray water over the top of the seeds to moisten them.
6. Cover the Seeds
Seeds need dark to germinate, so you need to cover them for a few days. There are several methods for this.
- You can cover them lightly with the potting soil. You only need a ¼ inch or less soil to cover them. The smaller the seeds, the less soil you need. For smaller seeds, such as brassicas, amaranth and basil, it’s best to sift the soil using a kitchen strainer. This will eliminate larger particles and will allow you to sprinkle the soil lightly. For larger seeds, you can just sprinkle the soil with your hands.
- You can also use paper or cloth towels to cover the seeds. You will need to moisten the towel and keep it moist until you uncover the seeds.
- If you are using standard growing trays, you can flip over an empty tray and place it on top of the filled tray. This will make it easy to keep checking on the germination process.
- Some people like to stack their trays, including me. This works well if you are sowing in multiple containers and they are uniform, such as the standard seedling trays. You simply place the sowed trays on top of each other and cover the top one with an empty tray or towel. You can stack 3 to 5 this way. I like this method because it eliminates the need for extra soil or paper towels to cover the seeds, and it saves you some space until you need to unstack the trays. Most seeds will tolerate stacking, except for delicate ones such as Amaranth. You can place these on the top.
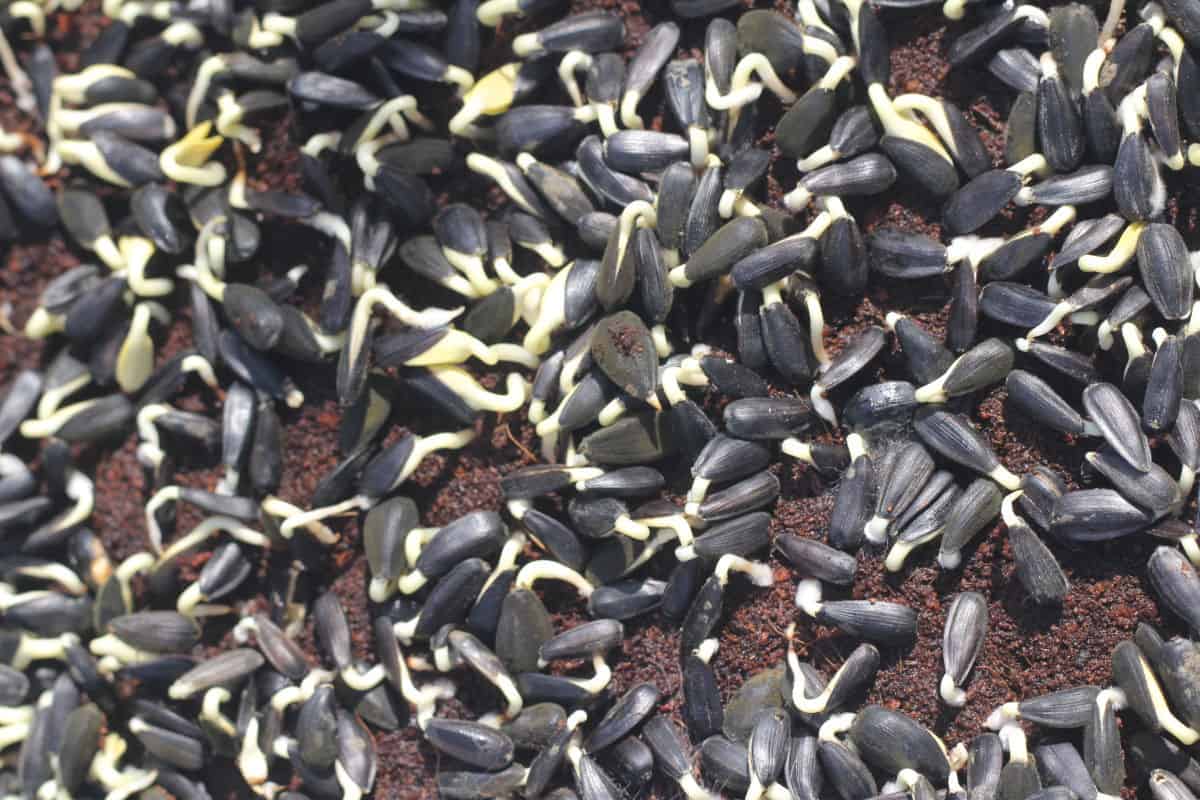
Germinating seeds need to be covered for 1-4 days, depending on what you are growing.
If you are growing them in a greenhouse or indoors, they won’t need any more protection. If you are growing them outside, they need some additional protection from the weather. If you are using seedling trays, you can purchase matching transparent plastic lids, also called humidity domes. These will speed up the germination by holding the heat and retaining moisture. However, you will need to monitor these so that they don’t get too hot in direct sunlight.
I have also used the bottoms of shallow transparent storage bins to cover the growing trays. These are sturdy enough and worked well even in heavy rain.
7. Weigh the Seeds (Optional)
This step is beneficial for some of the microgreens with larger seeds such as peas, mung beans, and sunflower seeds. These seeds have the tendency to shoot roots upwards instead of downwards into the soil. To make sure they do take root, you can put some weight on the top of the tray to press them lightly. The easiest way to do its to use the stacking method mentioned in step 6, and place other microgreen trays on top of the peas and sunflower seeds. Alternatively, you can cover them with cardboard and place a book or some other weight on top.
8. Check Daily and Water the Germinating Seeds
Seeds need warmth and moisture to germinate. If you let them dry out, it might be too late. However, if you have properly watered the tray during sowing, you won’t need to add much water during germination.
If you are using towels, you can see if they are wet or dry. They need to be kept wet and you can water the tray through the paper or cloth towel. Because the seeds are so delicate, you need to use a fine mist not to disturb them. I find that a spray bottle at this stage is the best watering solution. Depending on the level of humidity in your growing space, you will need to water once or twice a day.
If you used soil to cover the seeds, the process will be similar. It might be harder to visually observe wether the soil is dry or not, so you can just stick your finger in the corner of the tray it to gauge its level of dryness. Again, spraying the surface with water once or twice a day should suffice.
If you are using the tray stacking method, just lift up the trays and put them aside, spray each tray with water, and restack the trays.
Most microgreens will take at least 3 days to germinate, except for radish, which could germinate in two days. You don’t want to uncover the seeds too soon. Wait until most of them germinate and the stems are coming up evenly, pushing up the towel or the soil. If you have planted peas or sunflower seeds, they would be pushing up the stacked trays you weighed them down with. At this point you can uncover the trays and expose them to light.
9. Find or Create a Lighted Area
Once the seeds germinated, they will need light. The light requirement will differ for each variety. Some of them like direct sunlight, others prefer indirect sunlight or shade. But they all need some amount of light. Ideally, at least ten hours a day. Growing in a greenhouse will provide ideal conditions.
If you are growing indoors, it will be more challenging to provide enough light. You will probably need some south facing windows, and in the winter, even that may not be enough. Not enough light will slow the growth rate of your microgreens and will make them leggy, with the stems long and skinny. If you find that this is the case in your indoor growing area, you can supplement with artificial lights. There are plenty of options available.
Alternatively, you can use growing lights exclusively, eliminating the need for natural light. This provides the most flexibility as to where you can grow, and even your basement can be turned into a mini farm.
In addition to light, microgreens also need air. If you are growing outside, this is not a problem. If you are growing in a greenhouse or indoors, you can use a fan to provide a gentle breeze. Having some air movement will not only discourage the growth of mold, it will strengthen the stems of the plants.
10. Water the Trays
Watering during the growing stage will be different from watering during the germination stage. The growing microgreens will need more water. However, it’s not recommended that you water the greens from the top, especially if you are growing indoors with not enough ventilation. If you don’t have any other options, you can water with the spray setting of a hose from the top. But this could increase the growth of mold on the surface of the soil.
Watering from the bottom is the best method, If you have doubled up your trays, you can simply pour water into the bottom tray. You can gently lift up the top tray and add some water and then replace the tray. You can use a watering can or a hose. The soil will soak up the water through the holes of the top tray. Use the same method if you are using nonstandard growing containers. Depending on the temperature, sun exposure, and humidity levels, you will need to water every day or every other day. It’s good to check on your microgreens at least once a day.
If they are growing outside or in a greenhouse, the water needs of you plants might change from day to day as the weather changes. If you are growing inside, you have more consistent conditions, so you can quickly learn how much water and how often your plants need.
If you didn’t water them in time and they look wilted, don’t despair. If you water them well, they will likely revive.
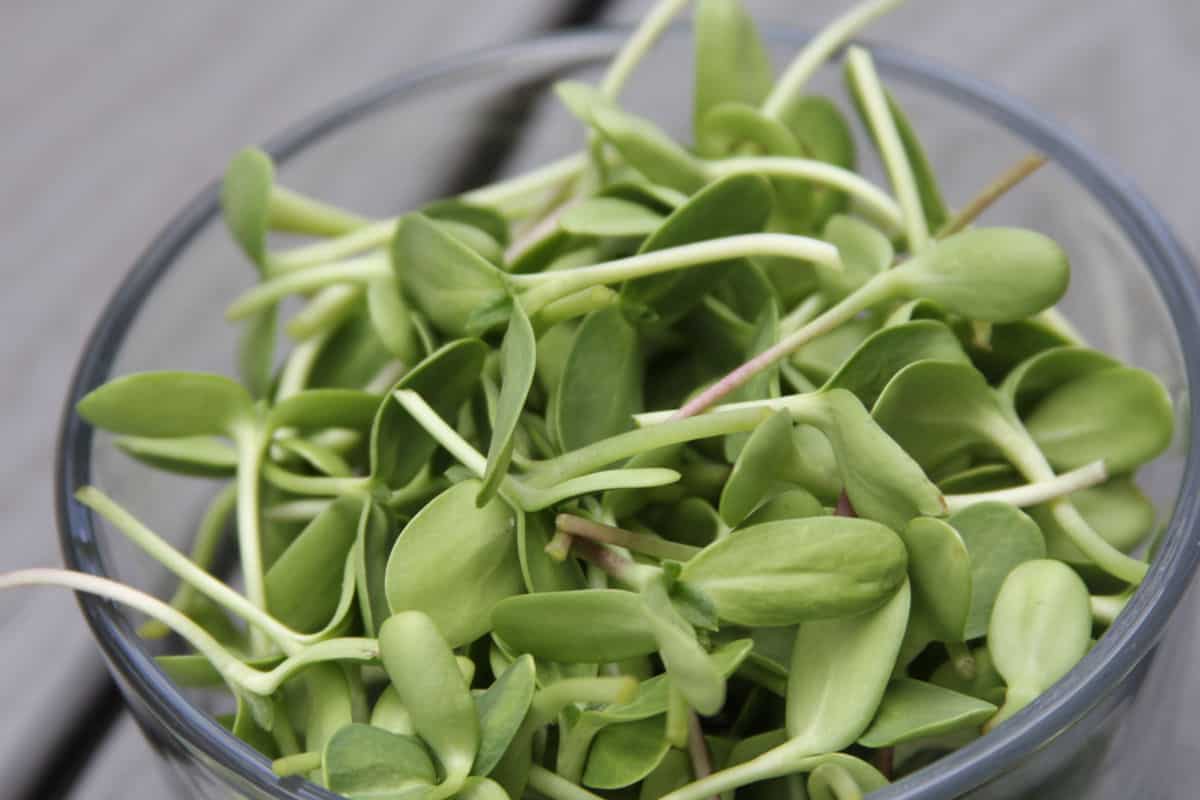
11. Harvest the Microgreens
When to Harvest
After 5 to 20 days, your microgreens will be ready to harvest. When you harvest will depend on how quickly the microgreens grow and whether you want to harvest before or after the true leaves appear. Some microgreens are better at the seed leaf stage while others are better at their true leaf stage and for some it doesn’t matter. With most of them, a day or two or even more won’t make a difference. The slower they grow, the more flexibility you have about the timing of your harvest.
In addition, you want to harvest microgreens when they are dry, so that they would keep longer. So don’t water the tray 12 or 24 hours prior to harvesting.
How to Harvest
If you are growing outside or in a greenhouse, make sure not to harvest during the heat of the day or your microgreens will wilt easily. Harvest in the cool of the morning or evening.
Using sharp scissors is the most effective way to harvest microgreens. With one hand, hold a section of greens loosely, and with the other snip the stems close to the surface of the soil. Place it in a bowl and keep going as if you were giving the tray a haircut.
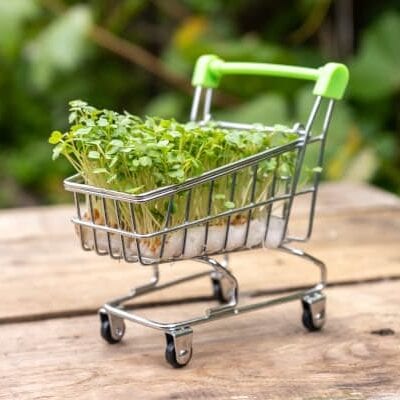
12. Storing the Greens
Microgreens are rather perishable, but you can extend their shelf life. They can last for a week or even longer in the refrigerator.
- Make sure they are dry before you put them in the fridge. Moisture encourages the growth of bacteria. So don’t wash them until you are ready to eat them. Just give them a quick rinse in a strainer and pat dry with a towel or put them in a salad spinner.
- Put them in the refrigerator right after you harvested them.
- Store the microgreens in sealed plastic bags or reusable containers.
- Put them in the coolest part of your refrigerator, which in my case is the top shelf. If microgreens are stored close to freezing temperatures, they can last two weeks or longer.
13. Cleaning Up
You will need to dispose of or recycle your soil or other growing material. If you are using soil or some compostable organic growing pad, you can recycle them by composting them. This will save money and reduce your waste. If you have a garden, you can also dump the used soil in your yard.
Wash your trays thoroughly with water and dry them properly. Drying them in the sun is a great option. If you are growing indoors, you might consider rinsing the trays with a hydrogen peroxide solution to make sure you get rid of any bacteria or mold. Also properly wash you scissors and growing surface to get rid of any dirt and plant material.
That’s all it takes to grow microgreens. If you have grown anything else before, most of these steps will be familiar and you only have to learn a few more. It’s really not that hard, and you can easily succeed at your first try if you follow the steps above. Good luck!
Leave a Reply